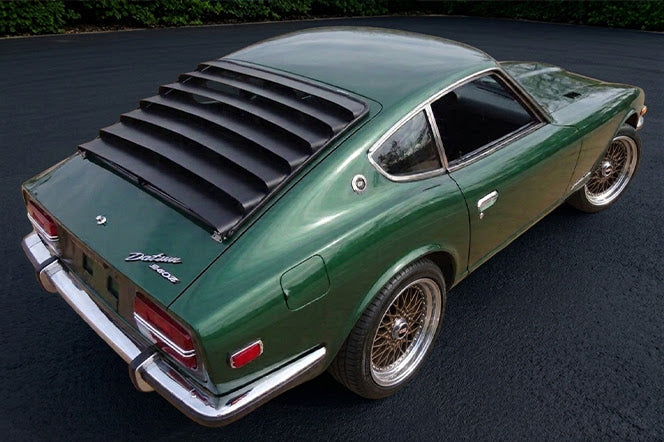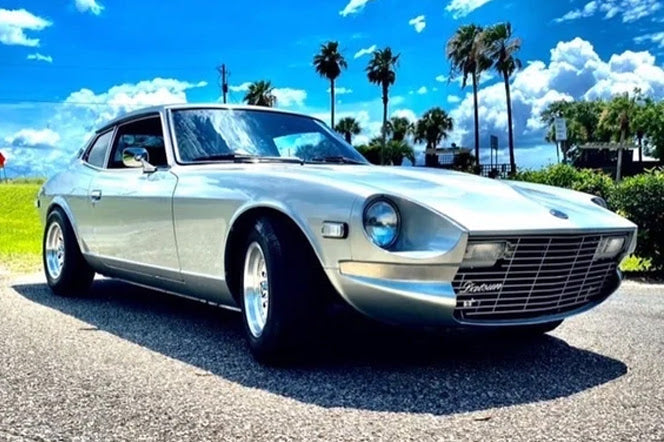

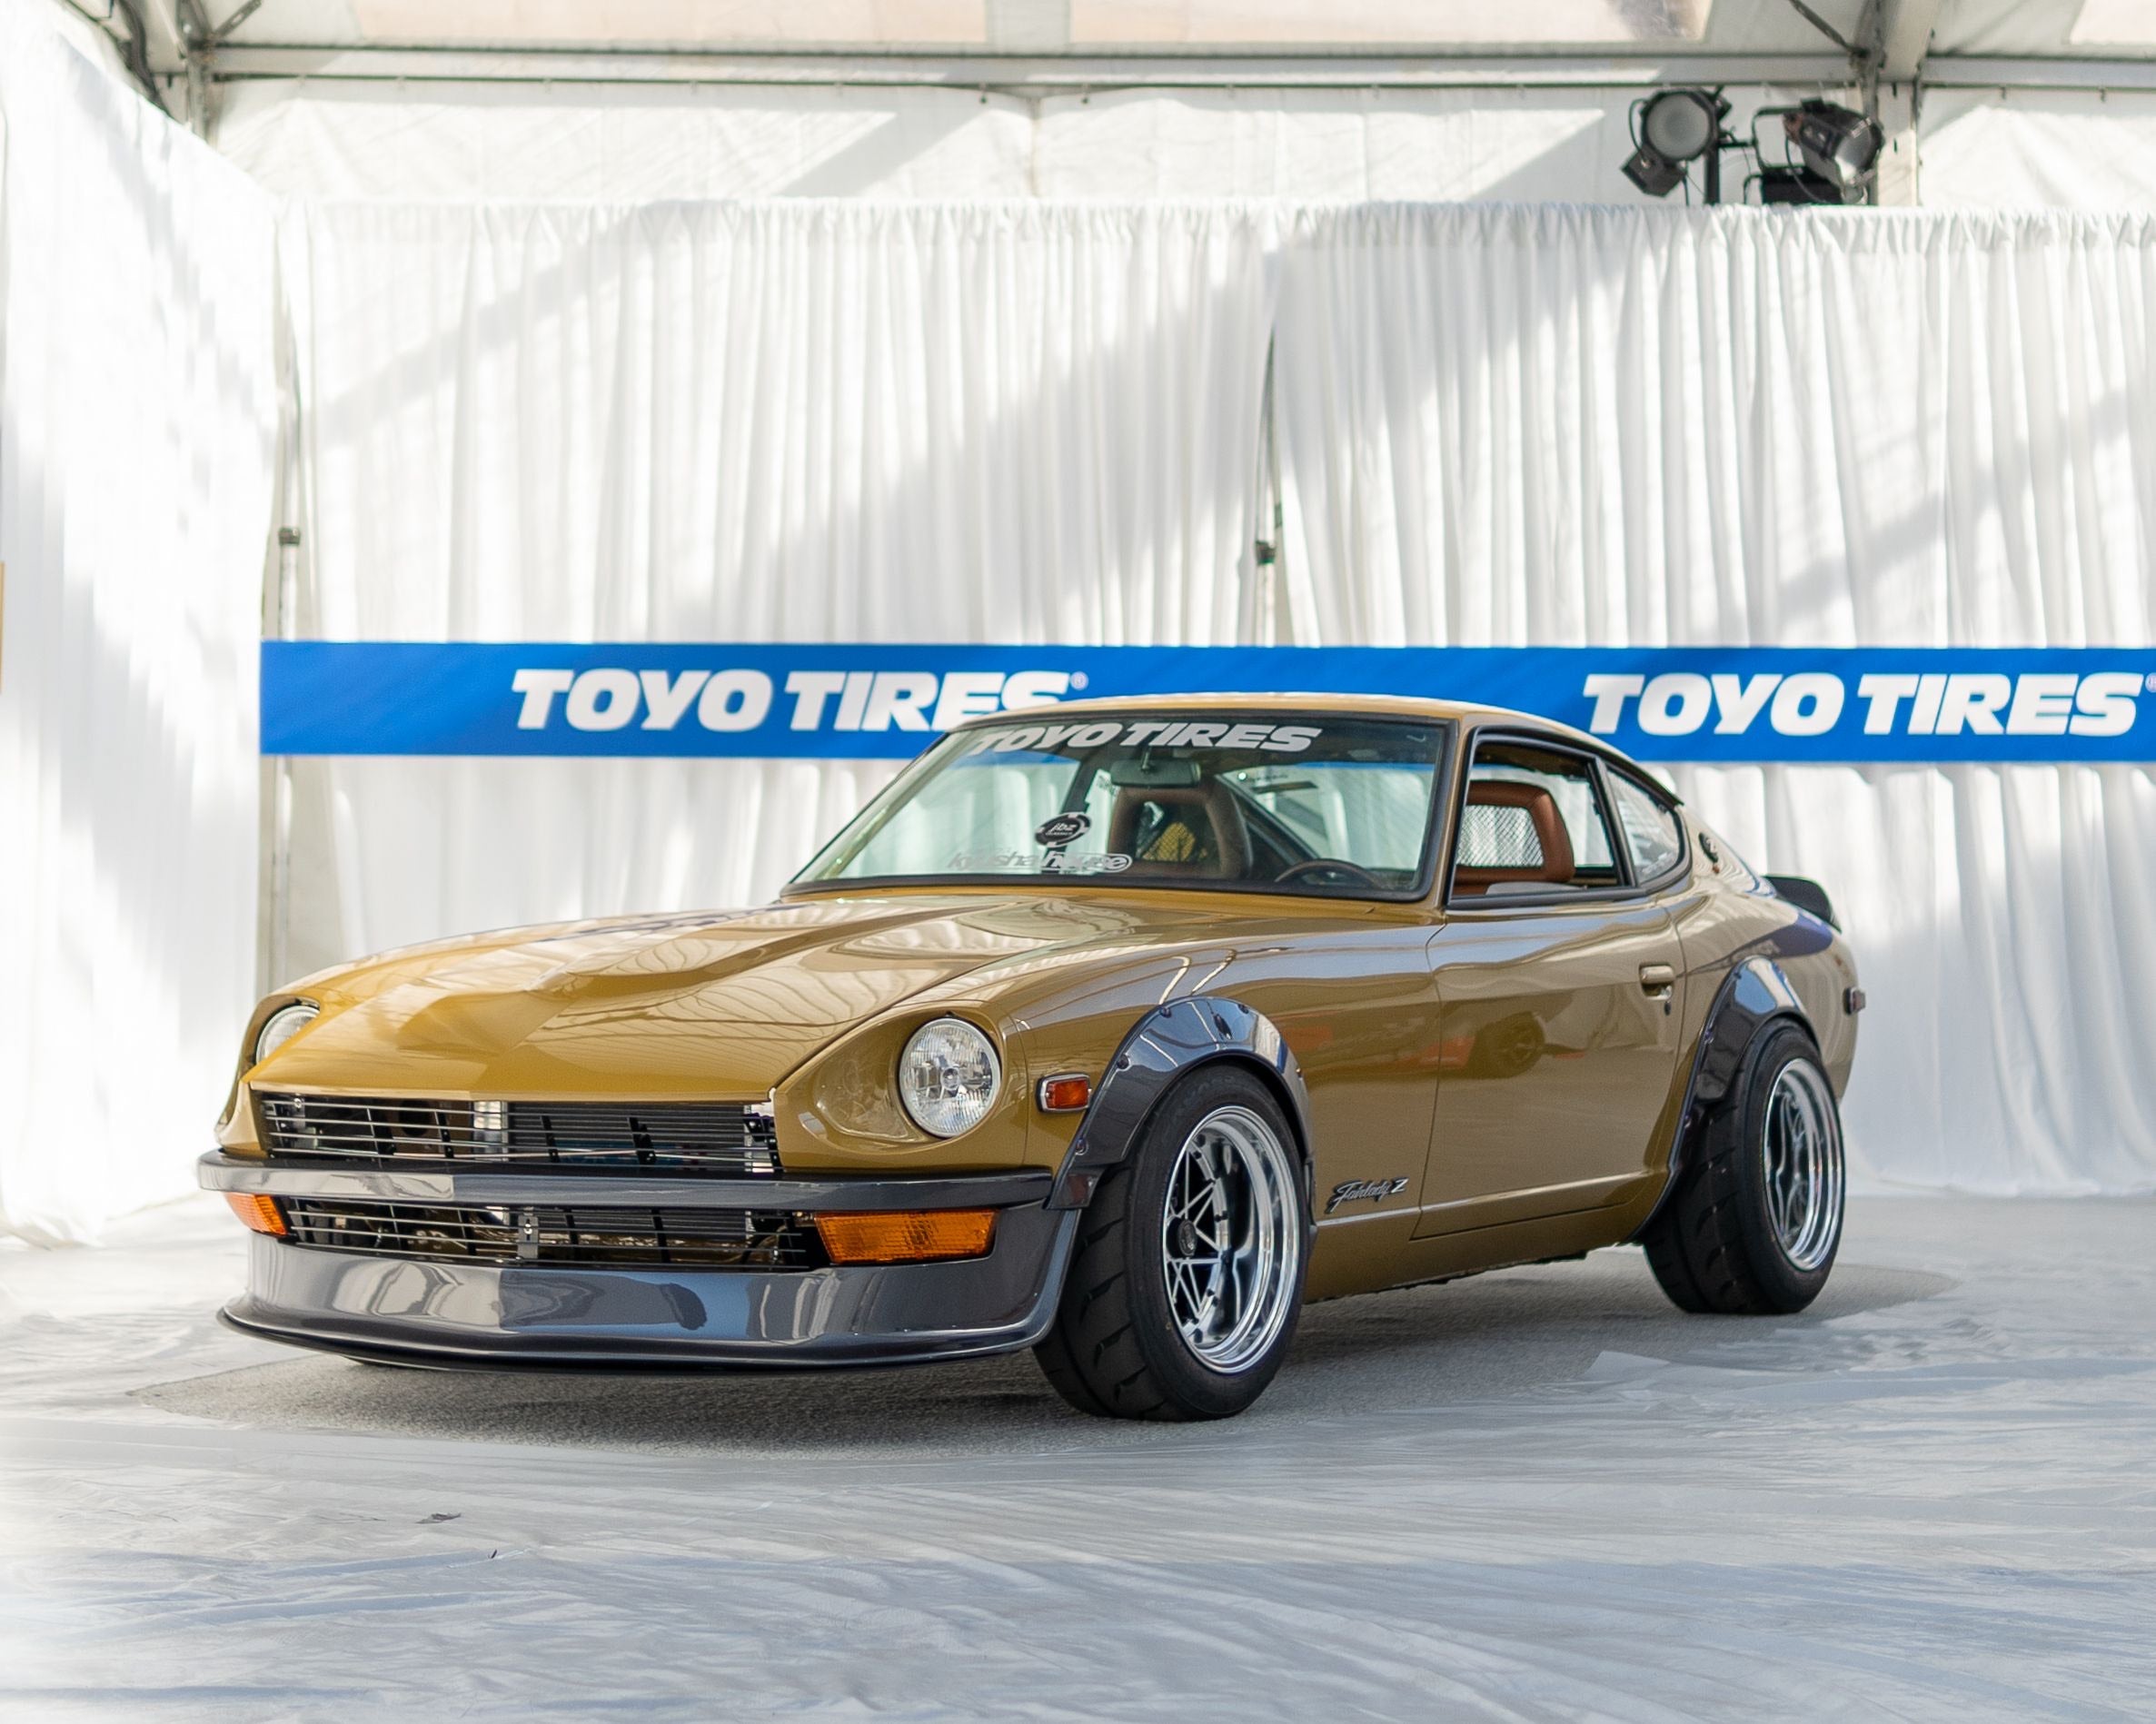
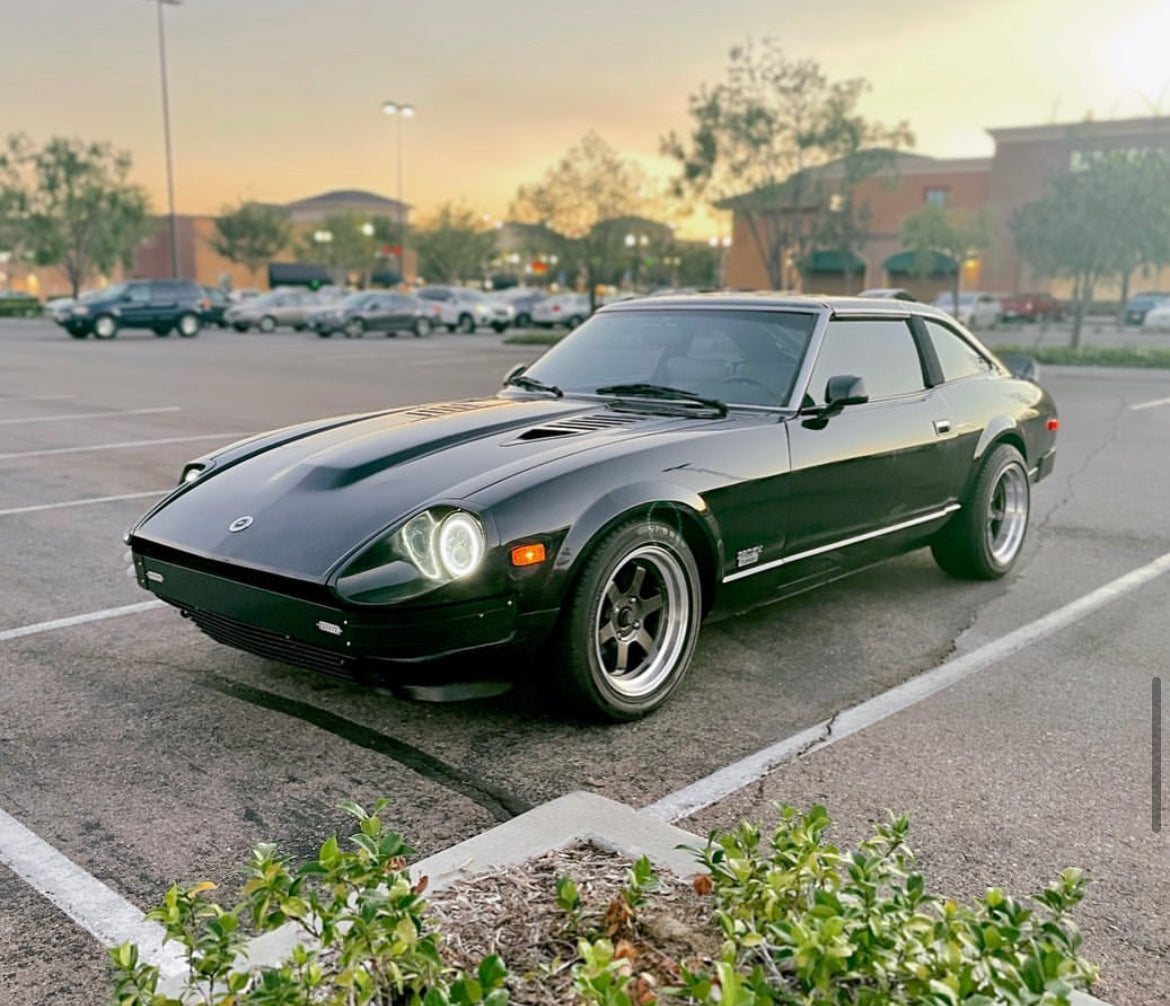

The 280Z's reputation as one of the most beautiful Japanese sports cars ever made is about as well-earned as it gets - though the factory bumpers are a bit of an asterisk on that legacy. Those massive bumpers weren't some design choice that Nissan made willingly - federal safety laws forced them into it, and Nissan had no real say in the matter. The end result was a significant amount of extra weight added to a car that was already heavier than the 260Z it replaced - and ever since, owners have been trying to get rid of them.
Stop by any car show that has a 240Z nearby and the two cars' bumpers tell you everything about why 280Z owners have a whole lot of questions. The 240Z had slim chrome bumpers that hugged the body lines so well that they almost disappeared into the car. But the 280Z's bumpers jut outward like they were bolted on at the last minute with no actual plan to revisit them. It's an eyesore, and it's usually what starts that long research process.
These steps each have their own set of trade-offs, and none of them are all that tough on their own. The owners who walk away with the cleanest results are usually the ones who planned out the full job before a single wrench came out.
Let's go through the process of removing those bumpers to give your 280Z a sleek look!
Table of Contents
The Law That Made 280Z Bumpers So Large
The 1975-1978 Datsun 280Z came with large urethane bumpers on the front and rear. Those weren't a style choice, though - US federal safety laws at the time said every new car sold in America had to survive a 5 mph hit without damage to its safety-related equipment.

Those bumpers are big and heavy and stick out quite a bit from the body - enough to break up the low-profile look that had made the original 240Z well known.
That reaction is a big part of why bumper deletion has become one of the most popular modifications in the Z community. Strip those bumpers off of a 280Z, and it moves a fair bit closer in spirit to the earlier and leaner body style that made the car famous. Head to any Z car show and the cars with the largest crowds around them usually have a smooth front and rear end. There's a reason for that.
Without the bumpers, the body lines get to push forward the way they were always meant to, and the whole car ends up with a more purposeful and finished look - tighter up front and noticeably cleaner out back.
For anyone still undecided about this mod, one look at a car with it done in person tends to answer the question pretty fast - at least in my experience. Before you grab a wrench, though, it's worth a few minutes to look up what your local laws actually say about bumper removal on a street-driven car. The laws can be pretty different from place to place, and a failed inspection right after you finish a clean build is exactly what nobody wants.
Check Your Local Bumper Laws First
It's worth taking a bit of time to actually think this through before you reach for a cutting wheel. Quite a few states and countries list bumper removal as an automatic inspection failure, which alone can stop a street-driven car from ever passing registration.
Street drivers and anything else that usually hits the public roads deserve a bit more thought on this one. The laws do change from one place to the next, so it's worth a few minutes of your time to check your local vehicle inspection laws before you lock yourself into anything permanent. Some places are strict about it, and others barely mention it - but you won't know until you look it up.

Plenty of 280Z owners have put weeks, sometimes months, into a build, only to roll up on inspection day and walk away with nothing to show for it. A little bit of prep is all that it takes to stay away from that.
If your 280Z lives in a garage or only comes out for track days, the situation is a bit more relaxed. A car that never sees public roads doesn't have to answer to registration inspectors, which opens up quite a bit more room to chase a more aggressive look without any of the legal issues. That path also tends to be quite a bit easier. The smartest first move, regardless, is to nail down just where you stand before you ever pick up a tool - and from there, it's just a matter of having the right parts and tools lined up for the job.
All the Tools and Parts You Need
Get your tools laid out before you touch a single bolt. A basic socket set, some ratchet extensions and a breaker bar will take care of most of the removal work, and you'll want some penetrating oil close by as well - seized bolts are nearly a guarantee on these cars, and it's much better to have it ready than to find out you need it halfway through the job.

From there, the rest of your tool list will depend on which direction you want to take the build. A straight delete means you'll need body filler, sandpaper and primer to fill in and smooth out the gaps left behind. For the 240Z-style swap, you'll track down the right front and rear bumperettes along with any of the brackets that go with that fitment. In either case, keep a few pieces of sheet metal and some fabrication tools on hand - some parts just won't line up well no matter how careful you are.
Even the most experienced builders make more trips back to the garage than they'd like on a job like this. A forgotten tool here, a missing bracket there - it adds up and disrupts your workflow. Take a quick minute to mentally go through each step of the process, and you'll save yourself unnecessary back and forth.
One last point - the bumper brackets on a 280Z are just about always held in by bolts that haven't budged in decades. A long overnight soak with penetrating oil will save you from a headache. Plenty of builders skip that step and nearly always regret it. Let those bolts have the time they need, and the rest of this job gets a whole lot more manageable.
Swap to the Slimmer 240Z Bumpers
For most 280Z owners, the happy medium between going bare and keeping the factory bumpers is a set of 240Z-style bumpers. These earlier bumpers sit much tighter to the body with a slimmer and more delicate profile - this one swap alone changes how the whole car reads. The result is a cleaner and more vintage look that owners are going after with this build, which is a big part of why this tends to be the most common option.
One point to make up front - the 240Z and 280Z bodies aren't identical, so the mounting points won't line up right out of the box. A little bracket work (either fabricated from scratch or modified) is usually part of the process, and some trial and error along the way is to be expected. It isn't a plug-and-play swap, and it's not going to feel like one. That said, it's also nowhere near as involved as it might sound.

The big draw here is that you get front and rear coverage without that thick rubber-wrapped factory look that the 280Z was notorious for. On a car that still sees standard street miles, that little bit of bumper protection actually matters quite a bit. It's a middle ground - cleaner and more refined than stock. But still functional. Plenty of owners stop right here and never feel the need to take it any further, and it's hard to argue with that.
If that's the direction that you want to go, source a decent set of 240Z bumpers and give the fitment the time it deserves before locking anything in permanently. Don't rush that part - you'll regret it if you do. The next section covers the full bumper delete for anyone who wants to strip it back even more and remove them altogether.
The Full Bumper Delete on a 280Z
The 240Z bumper swap is already quite a commitment on its own. A full bumper delete on a 280Z is a whole different level of work. The 280Z was engineered from the ground up with bumpers as part of the equation - the unibody, the sheetmetal, everything was designed with those bumpers in place. Remove them and what's left behind are mounting holes, raw brackets and reinforcement structures that were never meant to be seen. None of that belongs on a clean build.
Be sure about what you want out of this project before you pull anything apart. A swap will get you that cleaner, period-correct look with way less fabrication work involved. A full delete is a big commitment - it means actual bodywork and a fair amount of it.

Pull out the mounting brackets and reinforcement bars that sit behind the fascia. These are heavy pieces, and once they come out, they leave behind open sections of the body that are going to need to be closed up and smoothed over. Plenty of builders get stuck right at this stage - and it makes sense why. The disassembly part of it feels productive, almost satisfying. But the harder work doesn't actually start until everything is off and you're left with a body that needs to be made whole again.
Build stalls at this stage are pretty common. The stretch from "removed" to "finished" is wide - that gap is where projects go quiet for a few months. Have a plan ready for how you want to close everything up before anything comes off the car.
Fill the Gaps With a Custom Valance Panel
The bumper removal gets a fair amount of attention. But it's only half the job. The work that comes after is what actually makes or breaks the final result.
Those openings need to be closed out right, and for most builds, that means custom valance panels to fill in the gaps. Body filler does have a place in this (it's just a finishing layer, not a structural base). Get the shapes right first, long before the spreader ever comes out.
Take some time with reference photos from well-executed 280Z builds to settle on a direction. Follow how the body lines move from the hood and fenders down into the front fascia, and let that natural flow guide the shape of your panels.

Bad metalwork is probably the number one reason a bumper delete ends up looking a bit off. The underlying structure needs to be straight and sound before any of the filler goes on - if it's not, no amount of sanding later will save it. Block sanding is the right tool for this stage, and it'll show you the high and low areas that your hands alone will never pick up on. Every extra hour that you put in here is worth it.
Once the panels are all shaped, fitted and smoothed out, the front end should look like it was always meant to be there. Every bit of effort that went into this process exists for just that reason - a finished product that looks completely intentional.
How Much Dead Weight Comes Off the Car
The bumpers and brackets on a 280Z can run anywhere from 30 to 50 pounds of dead weight - sometimes even more. A number like that doesn't mean a whole lot when you're just reading it off a page. Pick those brackets up with your own two hands after the job is done, though, and the number starts to feel very real, very fast.
The front and rear bumpers sit at the absolute furthest points from the center of the car, and their placement carries real influence over how the chassis rotates and responds. Strip the mass from those outer extremes and the car gets noticeably more willing to change direction. It's an upgrade where you'll feel the difference in your seat long before any lap timer confirms it.

The looks of this mod are a big part of why builders go through the effort. A de-bumpered 280Z ends up with a much cleaner look (tighter lines, no chrome ends sticking out) and for builders, that's what makes it all worth it. The performance gains are every bit as strong as the visual ones, so don't let the new look pull your attention away from what this mod is actually doing for the car.
The metal in these bumpers runs pretty thick, and the mounting hardware can add a fair bit more weight on top of that. The total removal usually lands at the high end of that 30-to-50-pound range and sometimes even past it. Plenty of builders finish this project and are surprised at just how much metal they've pulled off the car. It's one of the most satisfying weight reduction projects that you can do on a 280Z, and it pays off in two ways at once.
Build Your Dream Car
Every part of this job feeds directly into the next one - the legal check shapes your timeline, your timeline shapes your game plan, your game plan shapes the bodywork, and the bodywork is what everyone's going to see at the end of the day when the car finally rolls up at a show. The owners who walk away legitimately proud of their results are usually the ones who mapped the whole build out before they ever touched the car. The ones who stall out mid-build almost all skipped something early on, and it caught up with them later.
You should also be honest with yourself about how you actually use your car. A weekend show car and a day-to-day driver are two very different projects - what works out for one of them almost never carries over to the other. A build that fits how you use your car is always going to serve you better than one that doesn't.
After all the time and effort that goes into a build like this, that feeling when the front end finally matches what you had pictured in your head is hard to describe. A clean 280Z is already a head-turning car on its own - and when it's one that you put together yourself, that feeling gets a whole lot better.

If your Z build is still in progress, at Skillard we have a full lineup of custom parts built just for the 240Z, 260Z and 280Z. Whether you're in the middle of a full restoration or just putting together your first round of mods, there's something in the catalog for your build. The range covers everything from bumpers and aluminum door cards to center consoles, spoilers and plenty more - all made with attention to quality and design. Check us out to browse the full catalog and see what your project needs next.