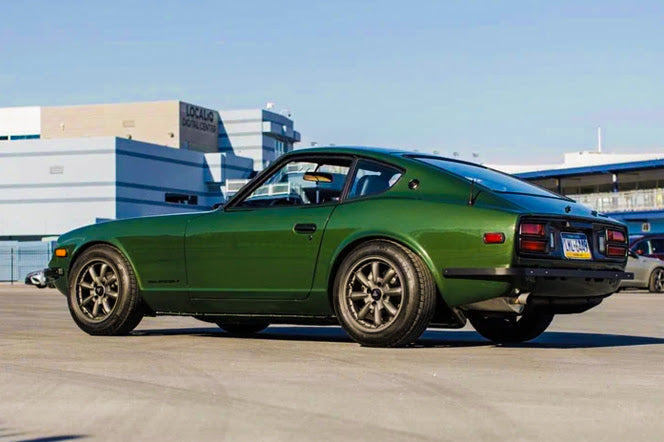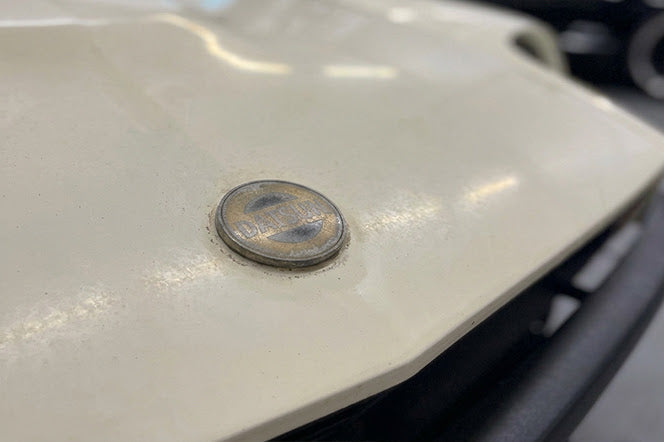


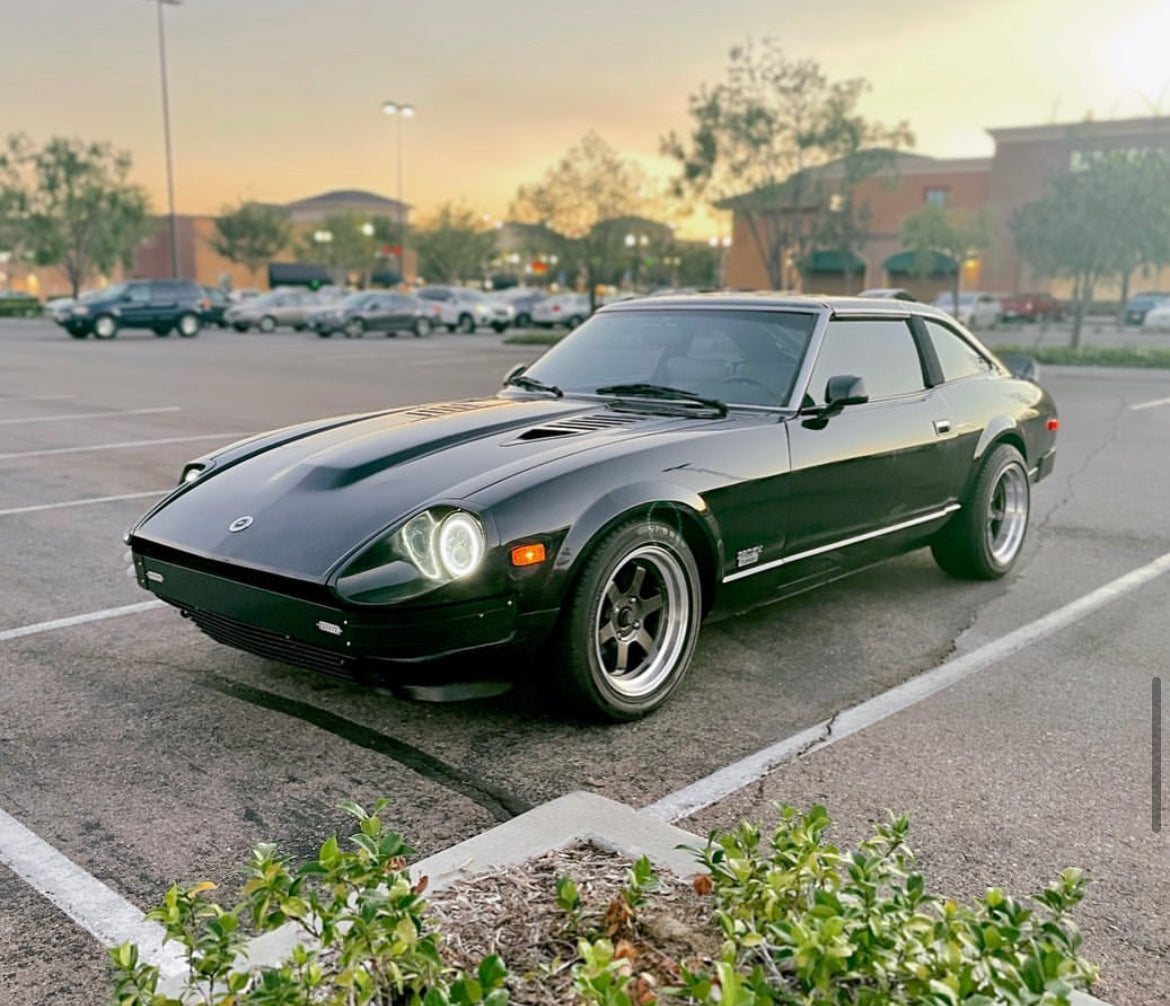

Wider tires on a Datsun Z seem like a quick win - at least until you push through your first hard corner and hear the tire scrape against the fender lip. Plenty of owners have put actual money into a new wheel-and-tire setup, just to find out that the factory sheetmetal was built around 165-series rubber on 4.5-inch-wide rims and won't fit anything more aggressive.
The usual fix for this is fender rolling. What it does is fold that outer metal lip upward to give you more clearance, and no cuts or patches are needed, so the car stays in one piece and the job can be reversed later if you need it to be. That said, decades of brittle paint and work-hardened steel make this job unforgiving. Vintage Datsun metal tends to reward patience and punish shortcuts in equal measure. Push it too fast, and you'll end up with cracked paint and creased panels - the sort of damage that's extremely hard to undo.
With the right tools and a game plan, any motivated owner can pull this off. Preparation is what separates a clean result from a headache, though. The metal has to be heated before any pressure goes on it, and you'll have to make gradual passes - not one hard push. The outer lip and the inner seam each need attention - miss one and that rubbing problem will follow you no matter what else you do right. Take it step by step and the payoff is well worth it - wider rubber that sits flush in the arch, with zero rubbing and the factory bodywork still in one piece.
This job takes time to get right, and the alternative (scraped tires and stressed metal) just isn't worth it. Let's talk about the process and get those wider tires to fit the way they should.
Table of Contents
Why the Stock Fender Lip Causes Tire Rub
The 240Z, 260Z and 280Z all left the factory with fairly narrow fender lips - which makes sense, if you think about it. The stock tires were quite slim, so the fenders were built to match. For a stock build, that isn't a problem. But once wider wheels come into the picture, that narrow lip starts causing problems pretty quickly.
Any wheel wider than roughly 7 to 8 inches will start to rub against that inner lip under compression. Aggressive offsets make it even worse and push the face of the wheel even closer to the fender edge. The contact point itself is small. But the wear it puts on your tires and bodywork builds up fast.
A fender lip roll is how you fold that metal upward and out of the way, which creates clearance without cutting into the body or permanently changing the fender's shape - which matters if you want the outside of the car to still look clean and stock.

Quite a few Z owners get their car lowered before they've thought through the tire fitment. At a lower ride height, the suspension travel compresses more aggressively - it's right when it starts to rub. What felt like plenty of room at full ride height can become a mess the first time you hit a bump or put the suspension under load in a corner.
Without a picture of your fender geometry, it's easy to waste time and money. Before you go any deeper, it pays to get a close look at where the lip sits relative to your wheel. From there, it comes down to having the right tools for the job so you don't crease the metal in the wrong place or damage the paint in the process.
The Right Tools for the Job
The right tools help here, so get them together ahead of time; it'll save you frustration. The main equipment you need is a dedicated fender roller, which is a tool designed to slowly push the fender lip outward without creasing or tearing the metal.
Businesses like Eastwood and OTC make rollers that are built for just this job. They attach to your wheel and give you steady, controlled pressure, which matters quite a bit on a vintage Z - the metal is thin and has likely spent decades becoming more brittle. A baseball bat or a bottle jack wedged against the lip will put uneven force on old paint and old metal, and cracking or flaking is almost inevitable.

The other tool you shouldn't skip is a heat gun. Warm the fender lip, roll it, and the metal will be more pliable - and your paint will have a much better chance to flex instead of fracture. A strip of painter's tape along the edges of the fender will also help protect the surrounding paint from any accidental contact during the process.
A floor jack and a set of jack stands are also what you'll need to lift the car safely and hold it there as you work. The wheel has to come off to give you full access to the inner fender lip. If your budget is a little tight, put your money into the roller - just about everything else on this list is already sitting in most garages.
Warm the Fender Lip Before You Roll
Datsun Z fenders have been around for decades, and age matters more. The steel and paint have had a very long time to harden and lose their flexibility, which means that the cold metal will crease or crack the second any pressure is applied. These aren't modern fenders with modern paint - they need to be treated accordingly.
You need a heat gun for this job. Before anything else, warm the fender lip first - and then keep it warm throughout the whole process. An easy guideline is to hold your hand a few inches away from the metal - if it feels comfortably warm, you're ready to move forward. If it still feels cool or close to room temperature, give it more time.

Don't heat one spot and then walk away from it. Metal cools down faster than you would think, so plan to reheat the lip as you go instead of treating it as a one-time step that you can check off and move on from.
Plenty of first-timers skip the heat altogether because the fender lip looks thin enough to bend. Regret usually follows pretty fast after that. Skip the heat and the paint around the lip develops small spider-web cracks that are nearly impossible to fix without a full respray - and on a Datsun Z, a full respray is the last thing you want on your hands. The cracks start out small and are hard to see. But they spread over time - especially if the car sees any sun or temperature swings. From what I've seen, a few extra minutes of keeping that metal warm is the single factor that separates a clean result from a frustrating one. Once the fender lip is warm and ready to work with, you can move on to the rolling technique.
How to Roll the Outer Fender Lip
With the metal warm and ready to go, bolt the rolling tool onto the wheel center where your wheel normally sits. Once it's locked in place, press the roller with steady pressure against the inner lip of the fender and work it around in slow passes.
Patience is everything at this stage - each pass should only move the metal a little at a time, so resist the urge to force a dramatic curl on the first go. The metal needs to work its way into its new shape slowly - if you rush it, then you'll usually create more problems than you solve.

Between passes, go back over the lip with your heat gun so the metal stays warm and cooperative. If it cools down too much mid-pass, the metal will start to fight back and fold unevenly instead of curling into a clean arc. An uneven fold can leave a crease or a dent in the panel, and those are not easy to fix after the fact.
As the lip begins to curl upward and inward, the process starts to feel more natural - each pass builds on the last one, and the fender slowly settles into its new shape. Watch how far the lip has moved and compare it against the clearance that your tire actually needs. You can very easily go too far, which can pull the fender away from its factory shape in a way that just doesn't look right. My advice is to check on your progress after every pass instead of waiting until you think you're done.
Go slow, stop when you have just enough room and don't take it any further than that. Once the outer lip is where you want it, the inner seam will still need some attention before the job is done.
The Inner Seam That Still Catches Your Tire
Once the outer lip is rolled, it seems like the hard part is over - and for most builds, that's true. On the S30 Z-car, a second fender seam sits a bit farther inward, and it can still catch your tire at full steering lock or when the suspension compresses hard into a bump.
This inner seam is what drives builders crazy after an otherwise clean roll job. The outer edge looks great, the fitment looks right, and then one bumpy corner brings that familiar scrub sound right back. It's one of the more frustrating parts of this whole process. That's also the case if you were pretty confident the job was done.

The fix is to either flatten or trim that inner lip back. A heat gun and a fender roller are able to manage it here, though some builders like to trim the lip back with tin snips and fold any sharp edges flat afterward. Either one can get the job done - just make sure that there's no exposed sharp metal left behind when you're finished.
A bit of patience is worth it at this stage. Have a friend turn the wheel from inside the car as you watch from inside the wheel well and do this at full lock in each direction. From that angle, you can see right where contact is happening, and you can focus your work on just that area, so you don't have to guess across the whole lip. A little targeted attention goes a long way.
Once these seams are dealt with, you'll have a much better picture of how much tire width your fenders support - and it sets up everything you'll need for the next step.
How Wide Can Your Z Tires Go
With the fender rolled back, the next step is to figure out what tire size actually fits your Z. Most builders land somewhere in the 225 to 245mm range for width, a window that plays nicely with a rolled lip and a modest drop in ride height.
The width is only part of the equation, though. The offset of your wheel and the profile of your tire work together to either push the rubber toward the fender or pull it back away from it. A lower stance also moves the geometry around a bit, so a tire that clears just fine at stock height might start rubbing once the car is sitting down.

The single best move a builder can make at this stage is to dig into the build threads and fitment galleries from other Z owners. The forums and photo archives are full of owners who have already done this exact work and taken the time to document what fit and what didn't. A builder who finds another Z owner with a similar offset, ride height and body setup can more or less copy their combo with way less trial and error on their end.
Wider isn't always better, either. A tire that's too wide forces you to pull the lip much harder than a normal roll calls for, which puts the paint and the metal at real risk of cracking. It's worth staying within a tested range instead of chasing the widest possible tire just because you can. A tire that fits cleanly is always going to serve you better than one that technically clears but starts rubbing under compression or at full lock.
Find and Fix Paint Cracks After the Roll
Even after a careful roll, small problems can still show up once the car is back on the ground. Hairline paint cracks along the new bend are the most common problem that you'll find. But a bit of touch-up paint goes a long way on a fresh crease.
Uneven lips are worth fixing before you move on. If one section of the fender looks higher or flatter than the rest, go back in with heat and work it back into shape slowly. Cold metal at that stage doesn't want to cooperate, and any force that you apply will only make matters worse. Take your time here - it's easier to correct as everything is still warm and fresh.

Wheel rub is the other issue to check for, and a parked inspection will only give you part of the picture. Run the suspension through its full travel to see what clearance you actually have - compress the suspension by hand, bounce the car and turn the wheel lock to lock. What fits at ride height can tell a very different story in a full droop or under hard cornering. Have a helper hold the wheel at various steering angles as you check for contact points.
Paint lifting on a classic body like the Z can be pretty discouraging, especially after you've put a lot of work into the roll. A small crack at the bend is not the end of the world - it doesn't mean that the roll failed. Get ahead of it early with primer and touch-up paint before rust has any chance to take hold.
The one point worth repeating is to never push fitment that isn't working.
Build Your Dream Car
Making it to the end of this job is a satisfying feeling. Heat, patience and the right tool are all that stand between you and clean fitment - and now that the work is done, you have proof that the process is manageable even on a car this old and this well-loved. Wider tires sitting flush with no scrubbing sound is one of the small victories that makes every careful pass worth it. Quite a few Z owners walk away from this job more confident than when they started. That confidence tends to show up in the next project too.
That said, give the car a few drives before you completely close the book on this one. Out on the road, clearance can show issues that a static inspection in the driveway won't, so take a few spirited corners before assuming everything is settled. Check the lip every now and then as time goes on, just to make sure nothing has shifted or rubbed somewhere new. The work holds up well when it's done right. But a quick look every few months keeps small problems from turning into bigger ones.

Getting the fitment right is one part of a much bigger picture when you're building out a car like this. The 240Z, 260Z, 280Z and the rest of the Datsun lineup deserve parts that match the effort owners put into them - it's just what we're built around at Skillard. From bumpers and spoilers to aluminum door cards and center consoles, we make custom parts designed specifically for these cars. Whatever your build looks like, there's something in the catalog that fits where you are headed. Check out Skillard.com to see everything available and find the parts that bring your vision together.