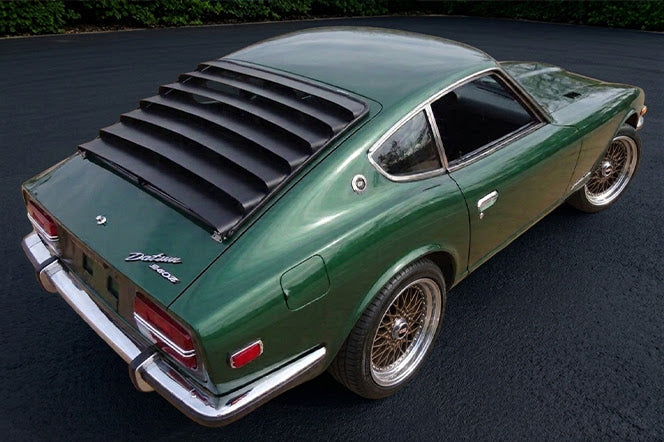

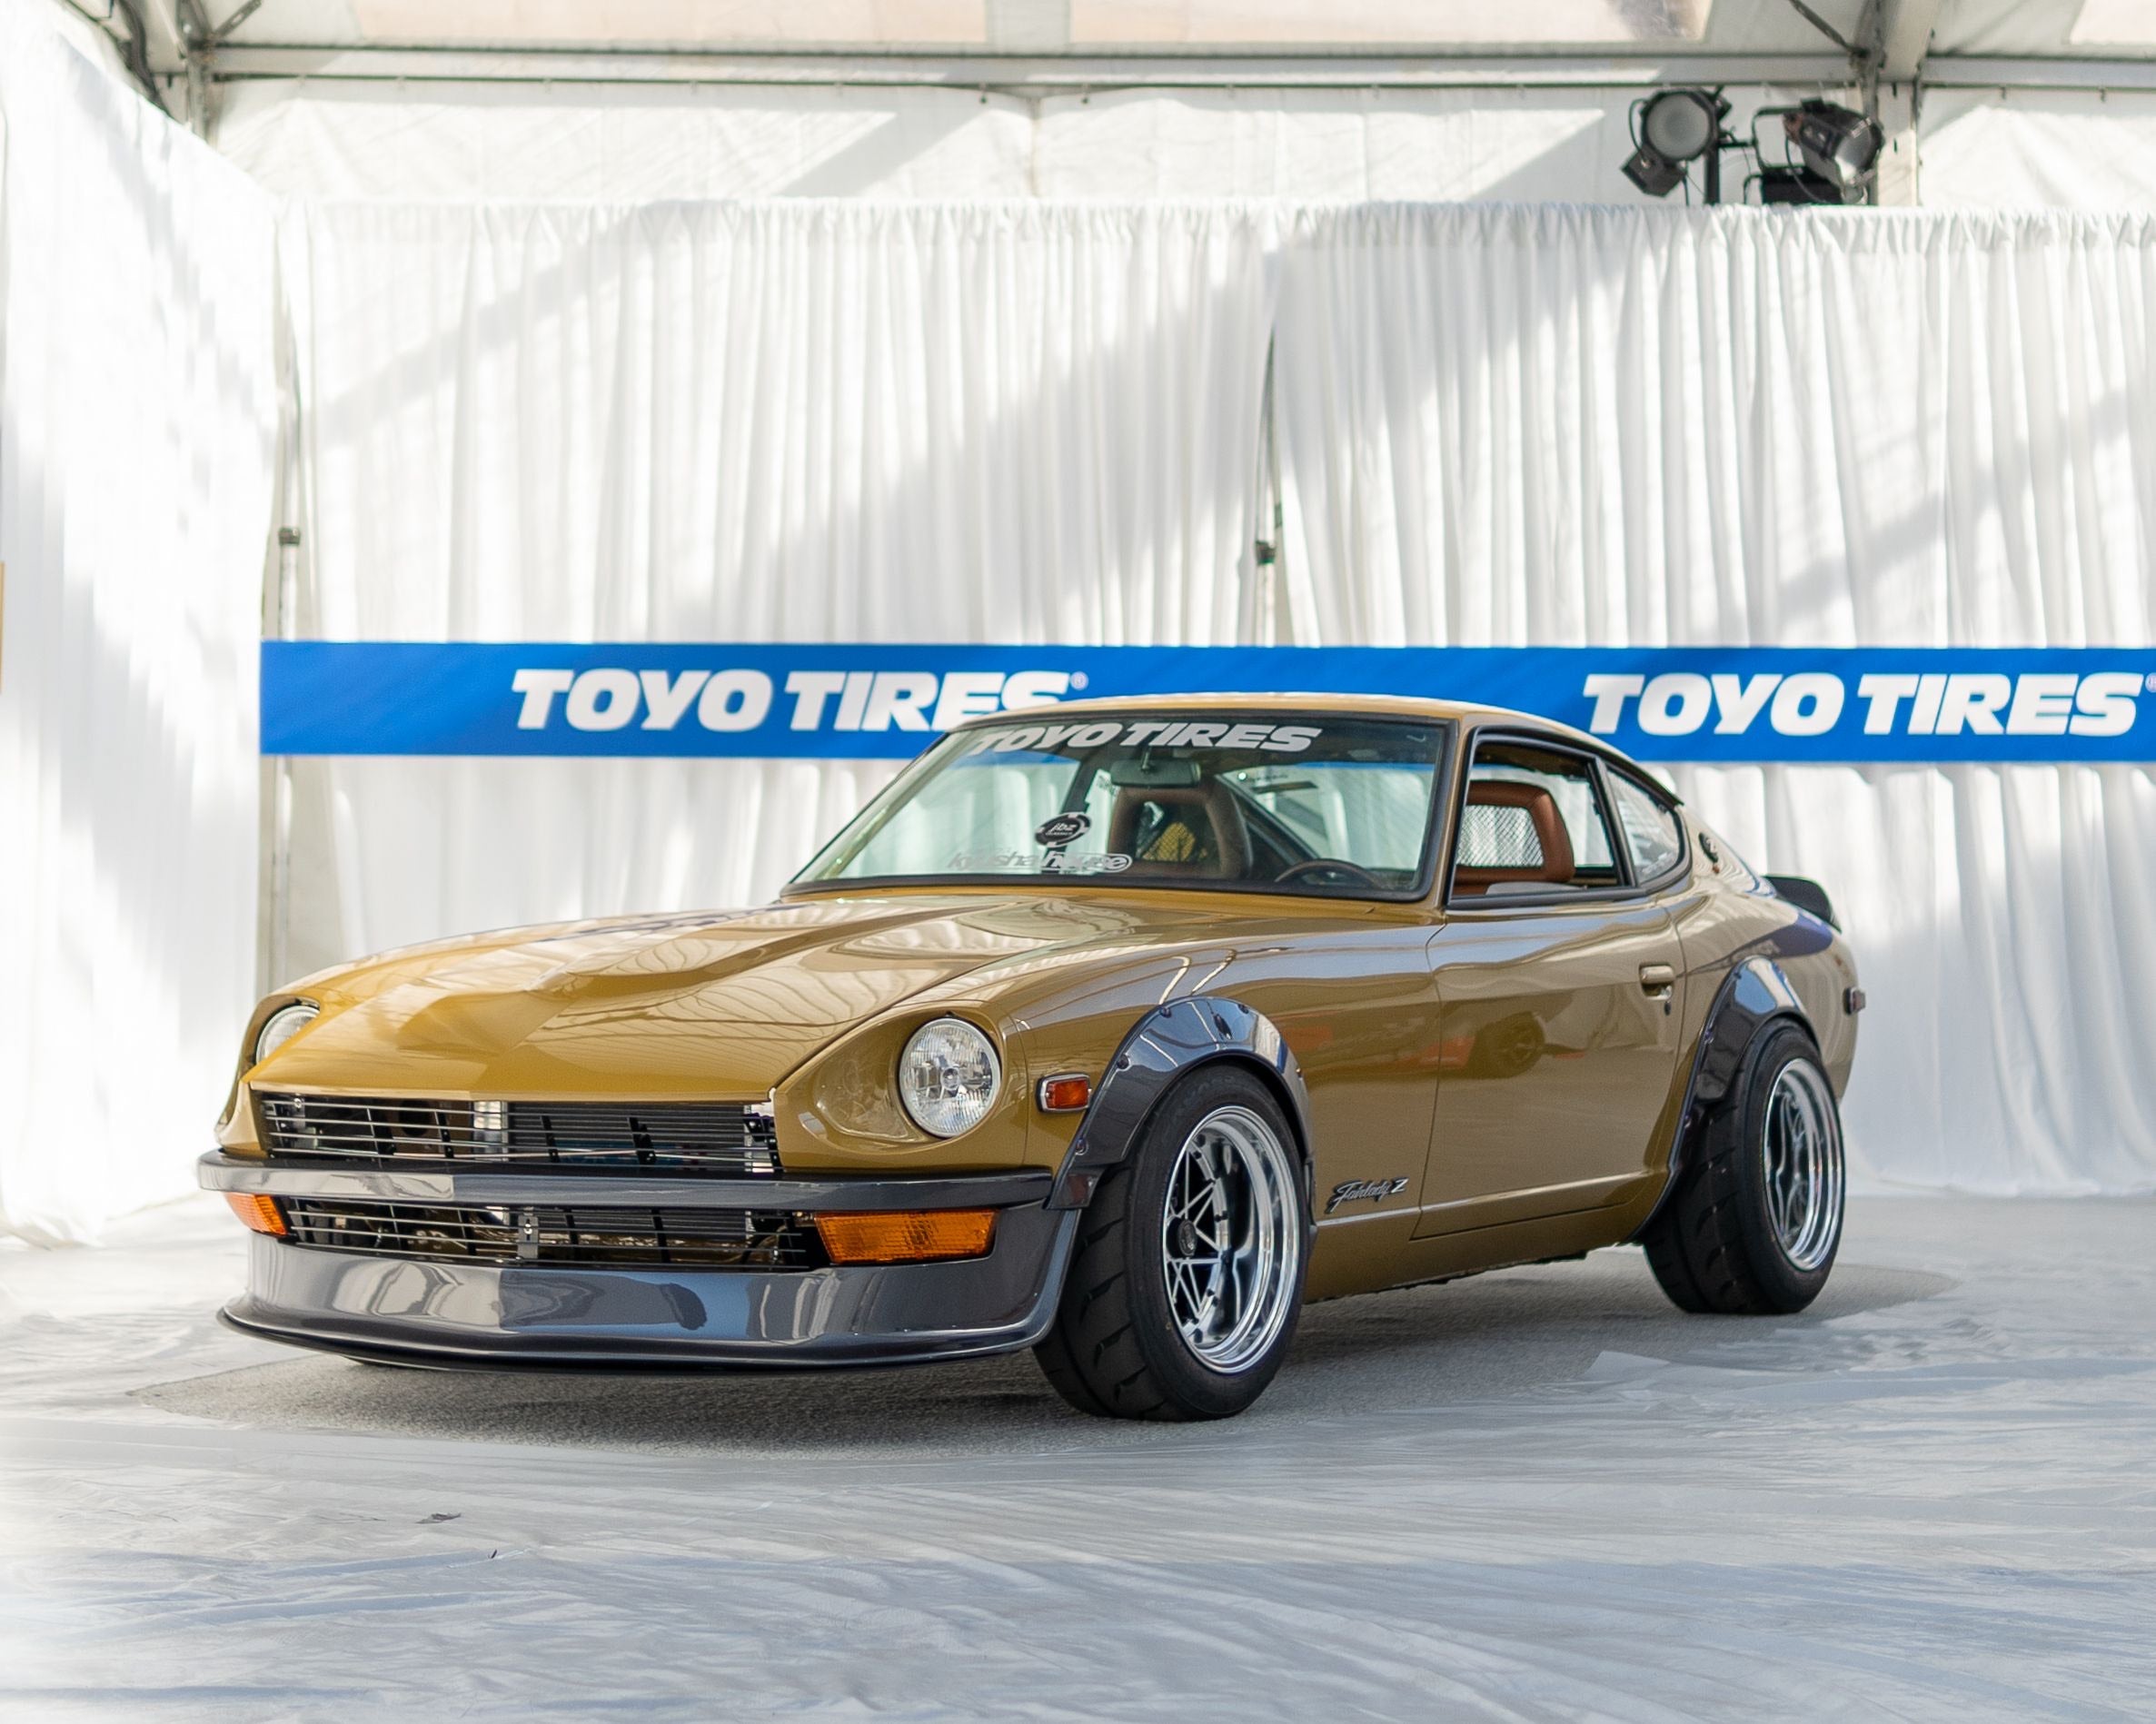
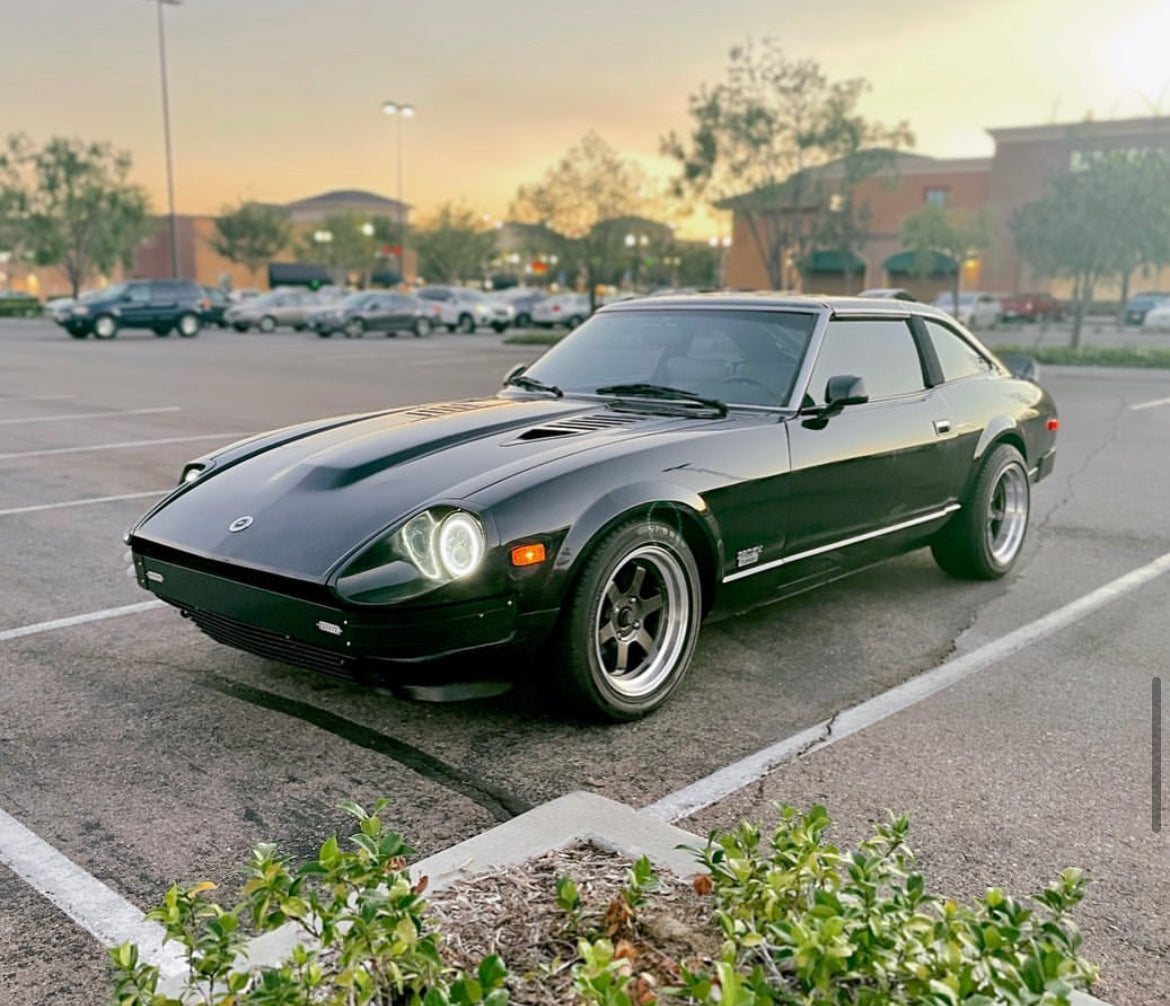

Faded badges on a 240Z can nag at an owner for years. The chrome gets dull and flat, the recessed lettering loses whatever paint or fill was keeping it looking sharp, and the pot metal underneath starts to show faint cracks and pitting along its surface. A full replacement seems like overkill when the originals might still have some life left in them - the danger is that the wrong product can just as easily destroy a piece that took decades to hunt down.
That tension is very real. No one wants to ruin a 50-year-old emblem on a Saturday afternoon with a random polish grabbed off a hardware store shelf. The numbers make it even worse - a full Series 1 emblem set, which covers the hood badge, DATSUN fender emblems, roof pillar pieces and hatch badges, can run well over $250 as a set. A little impatience puts that on the line very fast.
A little patience and the best strategy will go a long way toward protecting the part and the money that you've already put into it. Gentle materials, a feel for what each badge is actually made from, and a steady hand will do far more for these pieces than any amount of aggressive scrubbing ever could. Pot metal, chrome plating and painted or filled lettering all behave a little differently with cleaning products, so you'll have to know what you're working with before you put anything on it.
Owners who take their time and work through each step will usually end up with crisp and authentic-looking emblems - and for an afternoon's worth of work, that's a result worth being proud of!
Let's go through each step for restoring those faded 240Z emblems.
Table of Contents
Tell Your Chrome From Your Pot Metal
The badges and emblems on a 240Z aren't all made from the same material - it's one detail that can ruin a restoration if you go in unprepared. Across the 1969 to 1973 production run, Nissan used a mix of chrome-plated metal, plastic, pot metal and enamel-filled lettering - and each of them reacts quite differently to the same products and methods. A cleaner or polish that works great on one material can ruin another.
Pot metal is the sneaky one - it looks and feels quite like chrome-plated steel. But it's a softer alloy that can crack or crumble when it meets an aggressive cleaner. Some products are designed to strip and polish chrome - use one on pot metal and you can do real damage very fast.

Weight is actually a great place to start. Pot metal tends to feel a little grainy along the edges - steel is noticeably denser and feels solid all the way through. Plastic parts are usually thinner, and they'll give just a little if you press on them gently - metal won't budge at all. The trickiest pieces are the enamel-filled sections. The enamel rests in very shallow channels, and it doesn't take much to lift it right out.
First, take 10 minutes to get a close look at your emblems. A badge that gets misidentified and treated the wrong way can go from faded to ruined very fast - original 240Z trim is not something that you can just find anywhere. Know what you're working with first, and the rest of the process goes much smoother.
Get the Right Tools and Supplies Ready
Get everything laid out in front of you before you touch a single badge. At a minimum, you'll want a few soft cloths, some cotton swabs, enamel paint pens, mineral spirits, a roll of masking tape and a decent chrome polish - Mothers and Flitz work great. None of it's hard to find, and none of it will break the bank either. A little prep work at the start will save you unnecessary issues once you're deep into the project.

Take a close-up photo of each badge before you get started - once the paint begins to move or lift in ways that you didn't plan for, you'll be happy that you have a reference image to fall back on. It's a step that's easy to forget but worth doing every time.
Abrasive pads and wire brushes will scratch chrome and leave marks that are nearly impossible to get rid of - no matter how much faster they might feel. With something this sensitive, a light touch and the right materials are always going to beat brute force - and a quality chrome polish will do far more work for you than any scrubbing pad ever could.
One last step before you get started - make sure that your workspace is clean and well-lit. A flat surface with decent lighting makes it much easier to see what you're actually working with, and you'll have a much easier time keeping track of the small pieces. Misplace a backing clip in a messy pile and, well, then you'll regret not spending a few extra minutes on setup. A little bit of prep at the start does pay off.
Try Chrome Polish Before Anything Stronger
Chrome polish is a great place to start, and there's a reason for that - it's gentle enough to lift oxidation and tarnish without putting the finish underneath at risk. With your supplies already laid out in front of you, this is where the work begins.
The technique matters almost as much as the product itself here. Light pressure with small circular motions is the way to go - the polish does the work, not your arm. Every minute or so, lift the cloth, wipe the area clean and see what's going on underneath. The surface can change fast at this stage, so it's worth stopping every now and then to check your progress.

One of the more satisfying parts of this whole process is that you can see just how much grime lifts away before you even need to reach for anything stronger. A fair number of emblems in rough shape will clean up beautifully with chrome polish alone - don't rush through this part. Give it a chance and let the product do what it was made for.
The thickness of chrome plating changes quite a bit from emblem to emblem, and the older or cheaper pieces are plated pretty thin. Apply too much pressure, and you can wear right through the plating, which leaves the raw bare metal exposed underneath - a way worse situation than where you started. A gentle touch and some steady wipe-downs as you go are the best way to keep that from happening. It's a common mistake, so a couple of extra minutes to check is always worth it.
Take your time with this part and check your progress as you go. The whole point of polish first is to find out just how far it can get you on its own before you reach for something more aggressive.
Go Easy on the Fragile Pot Metal
Plenty of 240Z badges were cast from pot metal - a soft and inexpensive alloy that was pretty common in production vehicles of that era. The problem with pot metal is that it doesn't age very gracefully. Over time, it can pit, crack or sometimes even crumble, and it doesn't take all that much stress to get it there. An aggressive scrub or the heat from a rotary buffer can be enough to cause some damage to a badge that's already a little fragile.
The tough part with pot metal is that it can look fine right up until it doesn't. Small pits or hairline cracks are a sign that the metal is already compromised, and a heavy polish at that point will only speed up the damage. Before anything else, run a finger slowly across the badge and feel for rough patches, any flaky areas or soft areas that give a little under light pressure. Your fingertips will catch flaws that your eyes are just going to miss.

A gentle strategy is what badge cleaning calls for. A soft cloth and a mild metal cleaner, worked in with light hand pressure, is all it takes to pull years of built-up grime off without putting the badge in any danger. The difference between a badge that comes out looking great and one that ends up more damaged than not traces back to patience at this exact step - so don't rush it.
Once that emblem is gone, it's gone forever. Even the closest reproduction badge won't carry the same authenticity or value as the original piece. These badges are irreplaceable - that alone should guide just how much pressure you're willing to put on one.
Fill the Faded Lettering on Your Badge
Faded lettering on a 240Z badge usually looks rough. Those recessed grooves that spell out the model name do lose their color over the years. But the badge itself tends to hold up well enough underneath. In most cases, what you have is a purely cosmetic problem - and those are my favorite kind.
An enamel paint pen or a small bottle of model car paint is probably your best bet for this - it's easy enough to find and use. First, run a strip of tape along the outer edges of the badge to protect the surrounding chrome or metal. A clean border goes a long way and takes most of the pressure off the whole process.
Take your time with this and fill the grooves in thin layers instead of one heavy pass - let each layer dry before you add the next one. A little bit of patience here is the difference between a clean finish and a smeared mess.

Once the paint has dried, grab a cotton swab with just a small amount of mineral spirits on it and run it gently across the surface. It'll pull the excess paint right off the raised areas without disturbing any of the color that's settled into the recessed grooves. A light touch is all that you need - the mineral spirits will take care of the rest.
The color match is another area worth getting right. Nissan was very particular about the shades used on these badges, and even a slightly off-color can make a restored badge look wrong on an otherwise stock car. The best move is to pull up a reference photo of an original badge or ask around on a 240Z owners forum to settle on a color - it only takes a few minutes, and it's worth it.
When it all comes together, it really does change the whole look of the car.
Fix It or Get a New One
Restoration does have its limits, though. Deep pits, structural cracks or missing chunks of material - at that point, no amount of touch-up work will save it.
Part of the process is being honest with yourself about what you're actually working with. A hairline scratch versus a missing chunk of material - those are two very different problems, and one of them has a path forward while the other probably doesn't.
Reproduction emblems are out there for just this reason. Repro badges are not that hard to find for the 240Z, and a quality one can look very sharp on a driver-quality build. On a car that gets driven all the time, a clean reproduction is a fine way to go.

With show cars and numbers-matching restorations, the stakes get a whole lot more personal. Original emblems carry weight in those circles, and most owners are pretty passionate about keeping the factory parts on their builds - which is a fair position. A repro badge just won't satisfy that goal.
There are a few factors to work through before you settle on anything here - how rare the original piece is, what a replacement would cost and whether that number even lines up with what the emblem means to you personally. These aren't always the easiest to put a price on.
No single answer fits every situation. A veteran show-car builder and an owner who just wants a clean driver are going to land in very different places with this - and either one can get it right.
Make Your Restored Emblems Last for Years
All that work to get your emblems looking fresh again shouldn't go to waste. UV rays, road grime and moisture are your three biggest enemies in this department - and none of them ever let up. A little consistency changes how long that freshness lasts.
Every couple of weeks, a quick wipe-down is all it takes to remove the dirt and film that build up around the edges and recessed pockets of a badge. Those little tucked-in areas don't get much attention during a normal wash - it's right where grime tends to settle in. A soft microfiber cloth and a little mild soap is all it takes to get in there and leave it looking great.

For chrome pieces, a thin layer of protective wax or sealant puts up a barrier that slows the dulling process down quite a bit over time - it doesn't take long to apply at all, and the difference it makes over the following months is worth it. The way I see it, it's not extra work - it's finishing the job the first time.
Direct sunlight is actually one of the biggest threats to your results over time, and it's something that doesn't get nearly enough attention. A shaded parking spot, when you have the option, adds up over time - UV rays break materials down faster than just about anything else on this list.
The owners who manage to hold onto that fresh look for years are nearly always the ones who do a quick wipe-down every couple of weeks. It's a small habit that protects hard work. A full restoration takes real time and effort - if you let it go and have to redo the whole job, that's a much bigger ask than a few minutes every couple of weeks. Maintenance is what makes the restoration worth it.
Build Your Dream Car
A moment like this (crisp badges sitting back on a car that looked tired just a few days ago) is one of the more satisfying parts of a restoration and a reminder of why it's worth doing right. The process asks you to slow down, pay close attention and respect what you're working with. A careful start, a methodical pace through each step and zero shortcuts are what actually get you to a finish that you can be proud of.
Few aspects of this hobby are as satisfying as crisp lettering and bright chrome on a car that's been around for fifty years. Those little bits are a big part of what makes a 240Z feel like a 240Z. When they're back where they belong, it can add something genuine to the car's history. With a little patience, most owners are able to manage this at home - and the result will be worth every minute.

At Skillard, we're built around a passion for everything, from bumper to badge. We design and build custom parts made just for Datsun Z cars, with options for the 240Z, 260Z and 280Z, so no matter where your build stands, there's something in our catalog for it. Bumpers, aluminum door cards, center consoles, spoilers - every part in our lineup shows a genuine commitment to quality and an eye for detail. Check us out at Skillard.com to browse the full catalog and find the parts that'll take your Datsun right where you want it to go.