

The front grille for a 240Z is one of those projects that gets tough fast - search results fill up with generic sheets, decade-old forum threads and product listings that give you zero indication of whether they'll actually fit a 50-year-old Japanese sports car. The factory grille on these cars was never much to look at, and after a few decades of sun exposure, stone chips and general neglect, most of them are in pretty rough shape. The right replacement can be hard to track down, and you have to work through the material options, patterns, sizing differences and fitment quirks that almost no one seems to cover in one location - so let's cover it here.
The 240Z nose has a very sharp curve to it, and a rigid sheet of material is not going to cooperate with that curve. Material choice is a big deal here. Aluminum, stainless steel and plastic don't all flex the same way, and each one behaves differently under pressure. The wrong choice can cost you hours of rework or a finished grille that just looks slightly off from a normal viewing distance. The weight and finish quality also can vary quite a bit across those options, and those differences start to add up once you're deep into the install. And then there's pattern choice - hex, diamond and square grid each give the car a noticeably different personality, so it's worth taking some time on that one.
A factory-correct restoration and a track-ready build with a clean open grille are two pretty different goals. But the process to get either one right is almost identical - choose the right material, match it to the right pattern and get the fitment right on the first attempt. Most builds run into hot water when one of the steps gets skipped or rushed, and it's usually that same rushed step that has to be done over.
Let's go through the best front grille options available for your Datsun 240Z!
Table of Contents
The Factory Grille is Your Starting Point
Any conversation about the 240Z's front end has to include the factory grille. Nissan kept the whole design intentionally minimal (a flat black panel with a series of thin horizontal slats and nothing else) - it was never designed to be a showstopper. But that quiet simplicity is a big part of why the original still holds up decades later.
For anyone working on a 240Z restoration, the stock grille is the reference point for every choice that comes after it. A reliable baseline like that (something to measure everything else against) does help quite a bit. The decades-old parts listings are a mess, and the seller descriptions don't usually match what's actually in the photos.

The classic Z community takes factory accuracy to heart - and I mean that in the best possible way. Purists will get particular about details like the cell shape, the frame finish and even the exact way the grille sits in the bumper opening. The little details are what separate a genuine restoration from a rough approximation, and for plenty of owners out there, that level of accuracy is the whole point of the build.
Not everyone is out to restore a numbers-matching car - and that's fine. Plenty of owners look at the factory grille and just want to go in a whole different direction (fair enough), though it still pays to have a decent feel for what the original looked like first. A baseline is what separates a deliberate creative choice from something that just looks off.
Pick the Right Mesh Material for Your Build
Aluminum is a favorite with builders who want to cut weight wherever they can - it cuts and bends into just about any shape with minimal effort, which makes it a natural choice for custom fabrication. A track-focused build can take full advantage of this - a lighter car is a faster car, and when parts need to fit just right, aluminum is one of the easier materials to work with.
Stainless steel is the harder of the two metals, and for a car that sees standard road time, it's probably the better call - it resists rust well and holds up to abuse without showing it after a few years. Rain, long road trips, cold winters - stainless takes it all and won't need much attention from you along the way.

ABS plastic inserts fall at the opposite end of the price range, and for builders, that's the first detail that gets their attention. They're also quite easy to paint, which makes them a natural fit for show builds and restoration projects where appearance matters more than long-term durability. Plastic won't hold up as long as either metal option - but for a car that spends more time at shows than on the road, the lifespan isn't the priority.
Plastic is probably your best bet when you're on a tight budget with a crisp painted look in mind. When the car needs to handle daily use and perform well, stainless steel is worth every bit of the extra weight. For a build centered around weight savings and a custom fit, aluminum is very hard to beat. More than anything, the right call here is about what you actually want out of your build - and I see far too many builders miss this because they go for the cheapest option.
The Three Grille Patterns Most Builders Use
The grille pattern does a lot of work for your build. The three most common options that you'll run into are hex (also called honeycomb), diamond and square grid - and each of them does take the front end of your car in a very different direction.

Hex combine is by far the most popular grille choice for 240Z builds. Those repeating six-sided cells have a strong visual connection to JDM-influenced and race-inspired styling, and the look fits the 240Z's personality almost too well. Spend any time on the Z car forums or build threads and you'll see hex combine pop up again and again - on everything from dedicated track cars to weekend drivers. The shape just works on this platform.
Diamond combine has a distinctly angular quality to it. The pointed cells pull your eye in a different direction than hex combine does, and the whole grille area looks much sharper and more intentional as a result. If your build has a bit more attitude to it, this is probably going to be your pattern.
Square grid combine is at the other end of the scale from the hex and diamond (it has a much cleaner look to it) - it's the pattern that works with builds that shoot for something vintage or just plain understated. Hex and diamond have a sharpness to them, almost an aggressive quality. But the square grid dials that back and lets the car's own body lines carry more of the visual weight.
Whichever pattern you go with will set the entire personality of the front end, so make sure to look at build photos before you lock anything in. Descriptions will only get you so far. Once you actually see these patterns on a 240Z, the right one for your build gets much easier to settle on.
A Curved Nose Calls for Flexible Mesh
The nose of a 240Z has sweep and curve built into it, and rigid materials just don't cooperate well with that contour.
Aluminum mesh works way better than stiffer alternatives for just this reason. A flexible sheet of mesh will follow the curve of your grille opening with very little resistance, while a more rigid material will fight against that curve and leave you with gaps or pressure points that are almost impossible to clean up once everything is already in place.

The shaping step is the one that's tempting to rush through, and it does deserve a bit more patience than you'd give it. Start off by working the mesh gently into the curve by hand and then just let it settle into the shape at its own pace. A piece that gets forced into position (instead of actually being guided there) is usually going to lift at the edges or develop a wave in the center, and at that point, no amount of adjustment will save it.
When a rigid panel gets pressed hard against a curved frame, the material just wants to spring back to its flat state - and the tension has to go somewhere. In most cases, it ends up as a warp or a visible buckle right in the middle of the grille, which is about the worst place for an imperfection on a car like the 240Z. I've seen this happen all the time with builders who are otherwise pretty careful with their work.
A little extra patience at this stage does pay off. Everything that comes next in the installation should have a well-shaped base, so the time that you put in right here is never wasted.
Flat Panels With No Gaps or Warping
Panel attachment is one step that trips up a lot of builders. A little extra planning at the start goes a long way. The two most popular methods are pop rivets and adhesive, and each of them works - it just depends on the finish that you're after and how permanent you need the final fit to be.
Pop rivets give you a strong mechanical hold that holds up well against vibration at highway speeds. The downside is that they leave visible fastener heads, which is actually a bonus if you want that raw industrial or motorsport-style look - less so if you're going for something smooth and clean. Adhesive is a different story. With no visible hardware, everything stays hidden and clean. That said, it does need surface prep and enough cure time to build a strong bond.

Road vibration is something most builders don't account for until it's too late. Gaps and weak edges don't just sit there - every drive puts a little more stress on every weak point, and a panel that moves even slightly will start dragging the surrounding material right along with it. A minor fitment issue can become a much bigger one by the time you get around to fixing it.
Fastener spacing is something that can make or break a build. Even spacing across the full panel is what keeps everything flat and locked down. When builders use too few attachment points (or just eyeball it without measuring), the result is usually a wavy or puckered finish that's nearly impossible to fix without pulling the whole panel apart and starting over. It's worth taking a few minutes to map out your spacing before drilling any holes or putting down any adhesive. A little extra planning at this stage is what separates a clean finish from one that has you wanting to redo the whole build.
Build Your Dream Car
Once the grille is taken care of, it tends to become the natural starting point for everything else up front. The 240Z front end has plenty of pieces that all work together, and a fresh grille has a way of making the panels around it look like they need a little attention too - the bumper, the hood, the trim pieces surrounding it. It's not a bad sign at all - it just means the project has found its footing. On a 240Z, that sort of momentum is well worth holding onto.
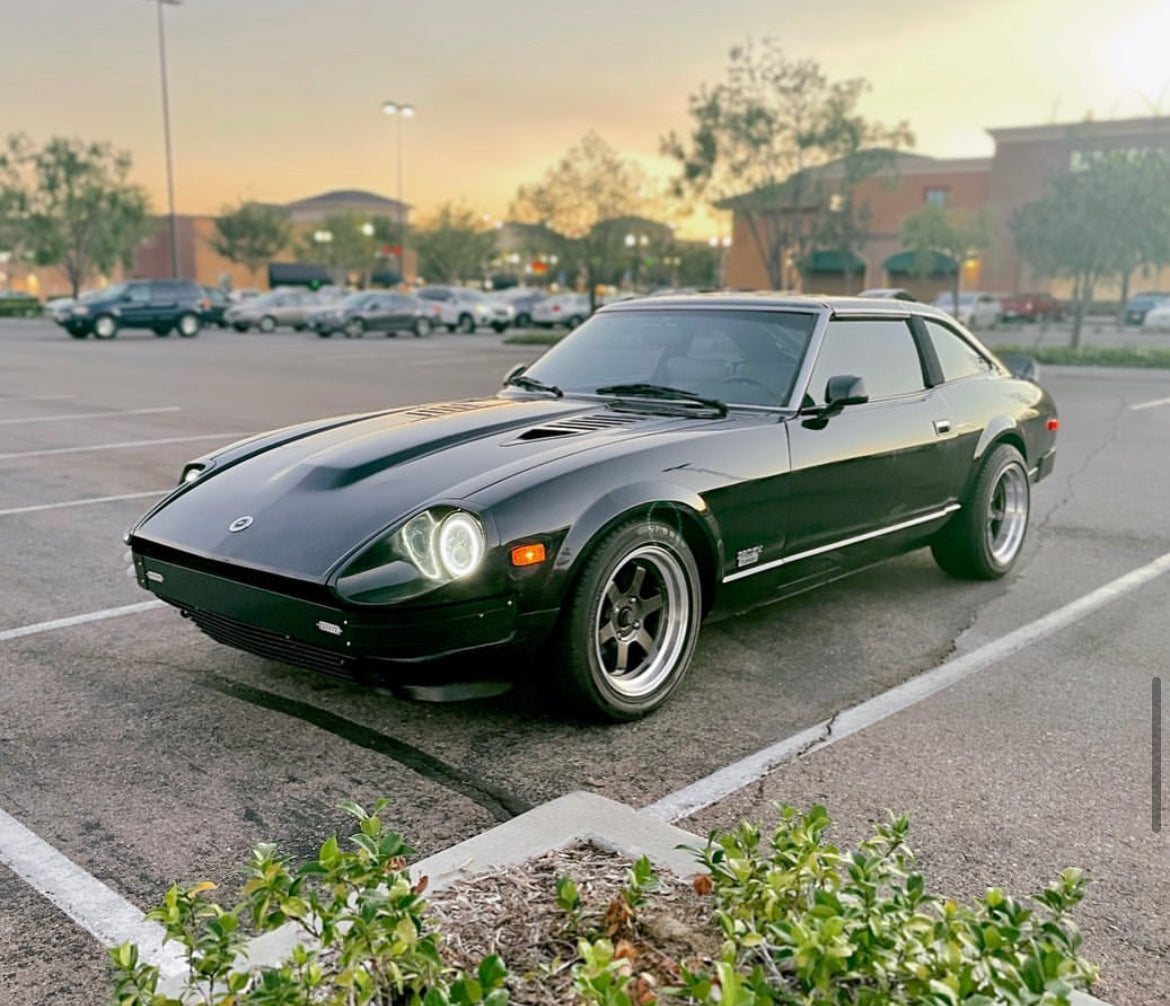
All three of these cars (the 240Z, 260Z and 280Z) are worth doing right. A well-sourced part that was actually designed for your exact car will fit better, install cleaner and hold up far longer than something generic that was never built with these models in mind. Most builds start to stall out (or worse, wind up looking half-finished) when you start cutting corners on parts.

At Skillard, we specialize in custom fabricated parts built specifically for Datsun cars, and our catalog is a pretty deep one. Front bumpers, rear spoilers, aluminum door cards, center consoles - we cover plenty of ground across the build. Whether your Z is headed toward a period-correct street build or something a little more aggressive, there's a chance you'll find something in the lineup that matches what you have in mind. It's worth spending some time with it. Check us out at Skillard.com to browse through everything we have and get a feel for what your Datsun could look like.